Our themes come with a large selection of web-safe fonts and Google Fonts, which are supported across all major browsers and operating systems. You can also use your own licensed font file with our themes by adding them as theme assets.
Using built-in fonts
Over 47 high quality fonts are available for use in our themes. Simply select the font you want to use in the Fonts section of the theme settings to have it immediately applied with absolutely no changes required to your page templates.
Adding custom fonts
Google offer a large range of free custom fonts that you can easily add into your theme. The following steps describe how to add a new Google Font that’s not already available in our heading and text font theme settings.
-
Navigate to
fonts.google.comin your browser to access the font library.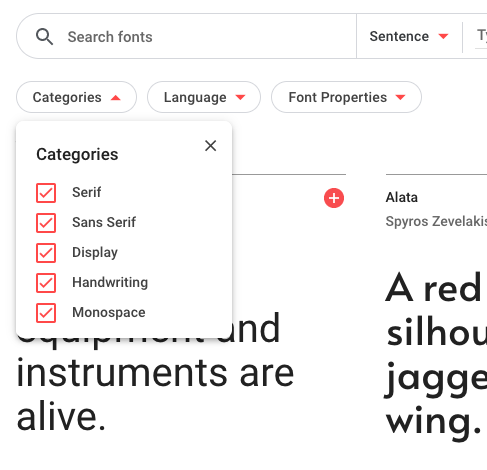
The Google Fonts directory If you know the type of font that you’re interested in, use the Categories filter to reduce the number of options presented.
-
Select the desired font family.

-
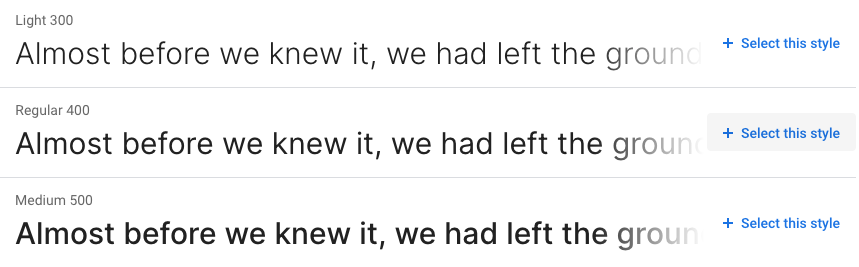
Select the font style(s) required for your Help Center.
-
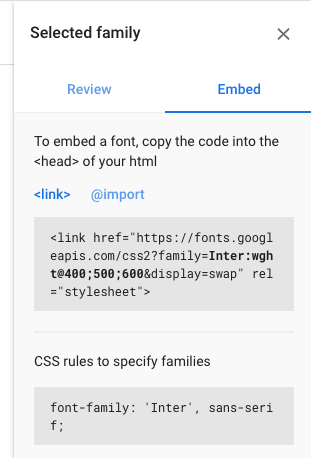
Repeat the steps above for other font families, if required. Once the required font families and styles have been selected, click on Embed in the right-hand sidebar.
-
Copy the embed
<link>into yourdocument_head.hbstemplate. -
Use the provided CSS rules to use your new font in CSS declarations:
.my-element {
  font-family: 'Inter', sans-serif;
}
The following steps allow you to use your own licensed webfont in your Help Center.
-
Find fonts using either a free font distributor like Font Squirrel or a paid font distributor like myfonts.com.
-
Download and unzip the font package to access the TTF (True Type Fonts) or OTF (Open Type Fonts) files.
-
Generate a webfont kit by uploading the font files to the Fontsquirrel Webfont Generator.
-
Download and unzip the webfont kit to the access the webfont files (for example,
.ttf,.woff,.woff2). -
Upload the webfont files from your kit to your theme’s
assetsfolder. -
Update your stylesheet (Sass or
style.cssfile) to include the following “bulletproof @font-face syntax”:@font-face { font-family: 'Webfont'; src: url('$assets-webfont-eot'); src: url('$assets-webfont-eot?#iefix') format('embedded-opentype'), url('$assets-webfont-woff2') format('woff2'), url('$assets-webfont-woff') format('woff'), url('$assets-webfont-ttf') format('truetype'), url('$assets-webfont-svg#webfont') format('svg'); font-weight: normal; font-style: normal; }Note the variables that reference webfont files within your theme’s
assetsdirectory and the font name which will be unique to your chosen font. -
Use your new font in CSS declarations:
.my-element {
  font-family: 'Webfont', sans-serif;
}
To have your new custom font appear in the list of heading and body text fonts in the theme’s settings you must update your theme’s manifest.json file as described in the next section.
Updating theme settings
As a final optional step to have your new fonts appear alongside the others in the heading and body text theme settings you can edit your theme’s manifest.json file. This file contains various pieces of information about your theme and is responsible for defining the settings that appear in the Settings Panel within Zendesk Guide.
Our themes have two font settings by default: a heading font (heading_font) and body text font (text_font). The heading font setting definition, when the System font is used as the current heading font, will look like this:
{
  "identifier": "heading_font",
  "type": "list",
  "label": "heading_font_label",
  "description": "heading_font_description",
  "value": "-apple-system, BlinkMacSystemFont, 'Segoe UI', Helvetica, Arial, sans-serif",
  "options": [
    {
      "label": "System",
      "value": "-apple-system, BlinkMacSystemFont, 'Segoe UI', Helvetica, Arial, sans-serif"
    },
    ...
  ]
}
Add your new custom font to the options array to have it appear in the list of font options and update the value property to have it applied as the current heading font throughout the help center:
{
  "identifier": "heading_font",
  "type": "list",
  "label": "heading_font_label",
  "description": "heading_font_description",
  "value": "'Webfont', sans-serif",
  "options": [
    {
      "label": "My Webfont",
      "value": "'Webfont', sans-serif"
    },
    ...
  ]
}